Getting Started
Adding Stripe integration to your Django project can be done in 3 painless steps, less if you use the Pinax starter project.
Pinax Starter Project for Stripe
If you choose this route, then you can skip the rest of the steps in this
guide. After running pip install pinax-cli just run
pinax start stripe <project name> and follow the instructions in the
README of the project that is created.
Installation
To install simply run:
pip install pinax-stripe
Configuration
Settings
There are only three required settings (four if setting up subscriptions) you need to configure:
- Installed Apps (
INSTALLED_APPS) - Stripe Keys (
PINAX_STRIPE_PUBLIC_KEYandPINAX_STRIPE_SECRET_KEY) - Default Plan (
PINAX_STRIPE_DEFAULT_PLAN)
See the settings and configuration docs for more of what's available to customize your integration.
Installed Apps
# settings.py
INSTALLED_APPS = (
    ...
    "django.contrib.sites",
    ...
    "pinax.stripe",
)
Set SITE_ID for the Sites framework
# settings.py
SITE_ID = 1
Creating the pinax-stripe database tables
pinax-stripe stores a cache of some Stripe data locally, so you need to run the included migrations to set up the new tables. Just run:
./manage.py migrate
Stripe Keys
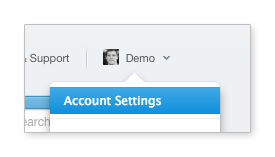
Your Stripe keys are what authorize the app to integrate with your Stripe account. You can find your keys the Stripe account panel (see screenshots):
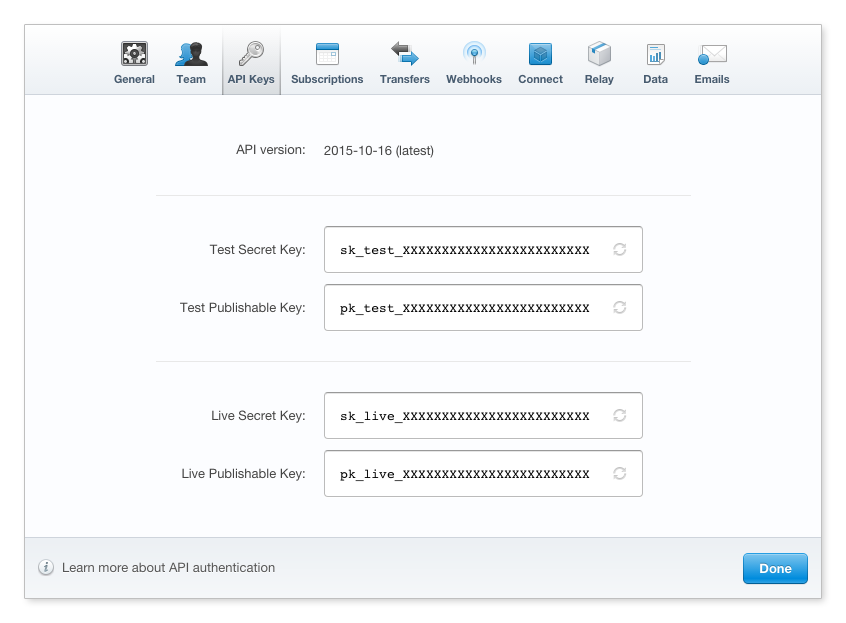
It's a good idea not to commit your production keys to your source repository as a way of limiting access to who can access your Stripe account. One way of doing this is setting environment variables where you deploy your code:
# settings.py
PINAX_STRIPE_PUBLIC_KEY = os.environ.get("STRIPE_PUBLIC_KEY", "your test public key")
PINAX_STRIPE_SECRET_KEY = os.environ.get("STRIPE_SECRET_KEY", "your test secret key")
This will use the environment variables STRIPE_PUBLIC_KEY and
STRIPE_SECRET_KEY if they have been set. Otherwise what you set in the second
parameter will be used.
Default Plan
If you are using pinax-stripe for something like a Software-as-a-Service
site with subscriptions, then you will want to also set the Stripe ID for a
PINAX_STRIPE_DEFAULT_PLAN setting and install middleware. See the
SaaS Guide for more details about working with
subscriptions.
Urls and Views
If you want to use the default views that ship with
pinax-stripe you can simply hook up the urls:
# urls.py
url(r"^payments/", include("pinax.stripe.urls")),
However you may only want to hook up some of them or customize some and hook up each url individually. Please see the urls docs for more details.
Syncing Data
The data in pinax-stripe is a cache of the data you have in your Stripe
account. The one exception to this is the pinax.stripe.models.Customer model
that links a Stripe Customer to a user in your site.
Note
The reason for this exception is because of the need to link the Stripe
data to users in your application. This is done through a one to one
relationship (a Customer can only belong to a single User and a User
can only have a single Customer reference).
Syncing Plans
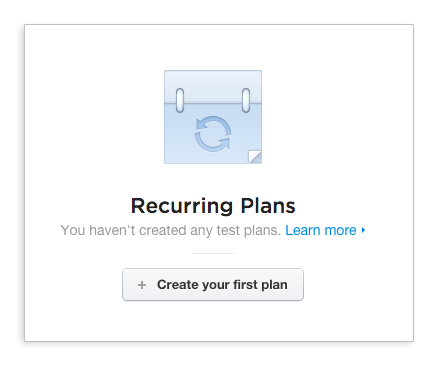
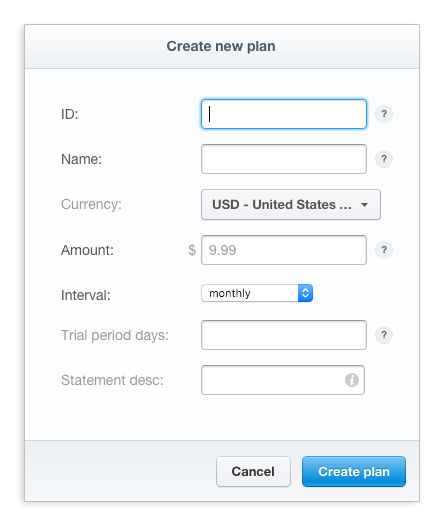
If you are using subscriptions you'll want to setup your plans in your Stripe account:
and then run:
./manage.py sync_plans
Initializing Customers
If you already have users in your site and are adding payments and/or subscription capabilities and want to create a customer for every user in your site, you'll want to do two things:
First setup, handle new users being created in your site either in a sign up view, a signal receiver, etc., to run:
from pinax.stripe.actions import customers
customers.create(user=new_user)
Then, to update your Stripe account after your initial deploy of a site with existing users:
./manage.py init_customers
Note
This is not required and you may choose to only create customers for users that actually become customers in the event you have a mix of users and customers on your site.
Syncing Customer Data
In the event, you need to update the local cache of data for your customers, you can run:
./manage.py sync_customers
Testing Webhooks Locally
Since the Stripe integration is driven largely by webhooks you'll need to
configure a port forwarder to give you a public URL to route requests to
your local runserver.
ngrok has been a great tool that is easy to get going,
but you can use whatever you want. Here is how to use ngrok:
ngrok http 8000 # assuming you are running runserver with the default 8000 port
Copy and paste the url that ngrok outputs that it's mapping to your local machine, into your webhook settings in the Stripe dashboard account settings. Make sure the webhook URL appended to the end:
http://<random code>.ngrok.io/payments/webhook/
Now when you do activities locally like subscribe, change payment methods, etc., the webhooks will flow back to your machine.